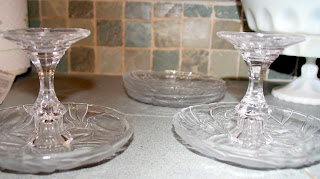
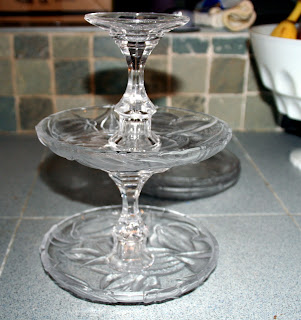
 Last year while planning Lil Bug's 1st birthday party, I ran into a problem with my "want" and what I could actually find in the stores at a price I was willing to pay for a party. Those that know me, know, I love a bargain and if its not something I will use over and over and often...I refuse to pay full price. I wanted a red tiered serving platter. I couldn't find one. Then I saw that you could DIY one and they were all over blog land. It was perfect timing! I made my own.
And then I made another....
Fast forward to present...I really needed to organize my jewelry. I have cubby holes in my closet and one of them houses all my jewelry. It was a mess. I wasn't quite sure what I wanted to do until I saw a picture of a tiered jewelry holder and decided I must make one.


No comments:
Post a Comment